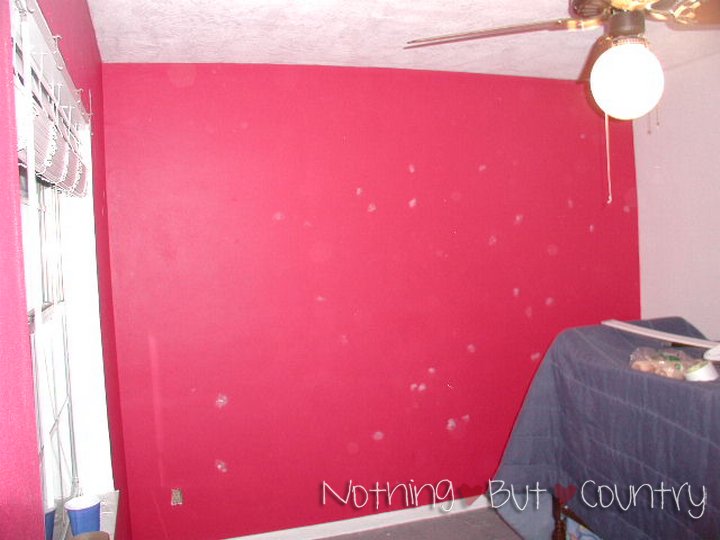
The nursery before…
Good grief what were these people thinking?!?! That is a crazy shade of red or is that fuscia? This was the 1st room in the new home to be painted– color had to go!
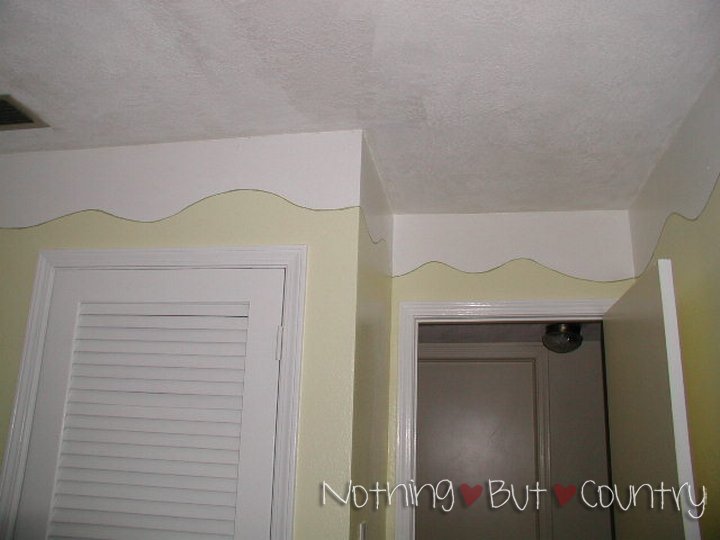
The nursery in progress…
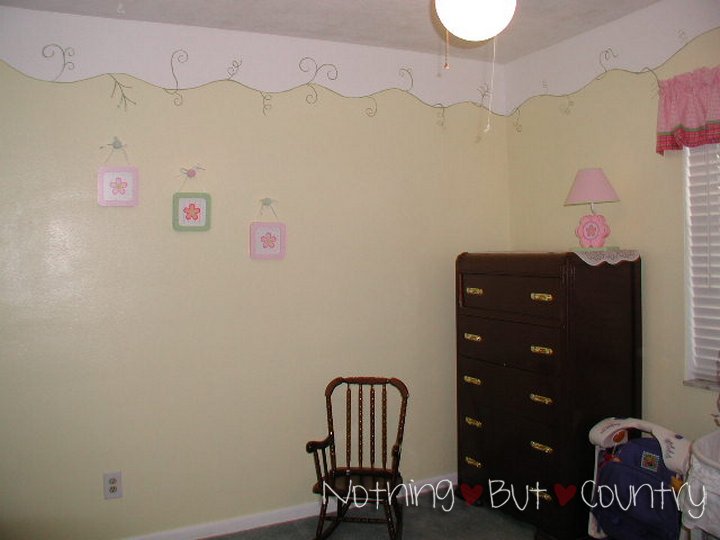
The entire room was primed and then painted a light pastel yellow. Since we do not like to keep painting rooms over and over again we were hoping to have this color last for many years. This was actually done in 2004. She is now 6 and still loving it. Will share the changes in another post of the nursery still being perfect for a little girl… but back to the make over in the nursery.
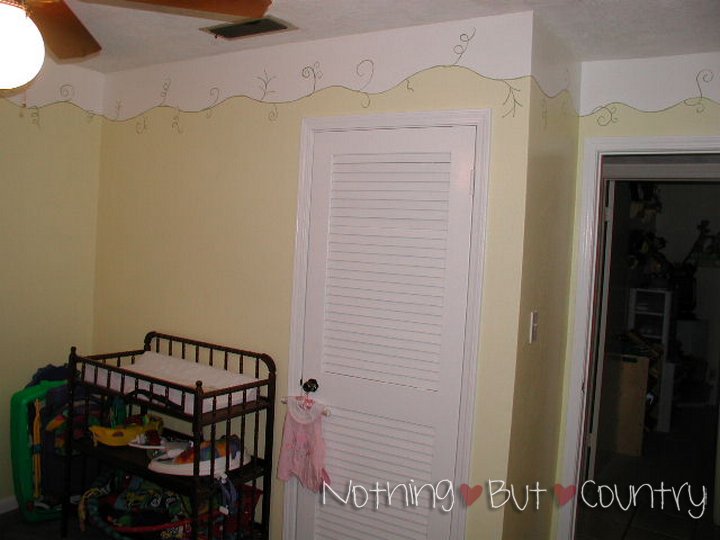
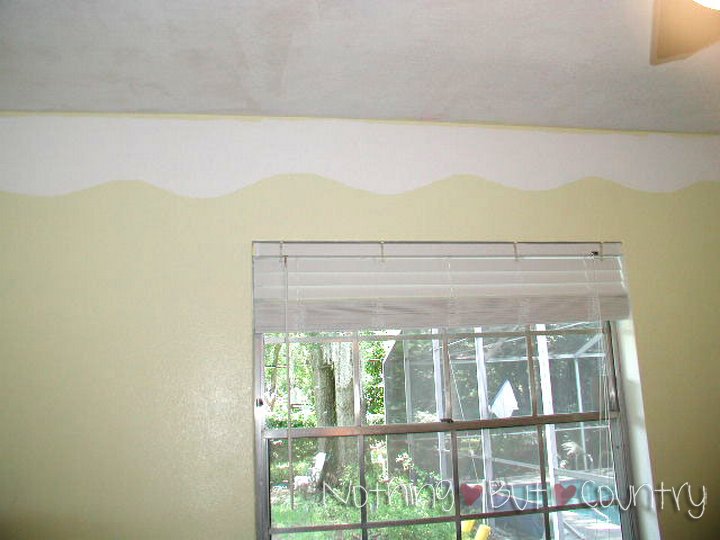
Once the room was painted pastel yellow, we wanted to have a nice border along the top. Using a 2 inch roller brush, we painted a wave all the way around the room. Technically we probably should of marked off how far down as we went around but we didnt. Just eye balled it and went for it. We didn’t want it to be perfect to look fake- so mistakes were not a big issue. Once the wave was painted along the bottom we just filled in the white around the entire room..
My hubby painting the tip top of the trim. I could only stand on the ladder so long as I was about 6 month’s pregnant. I laugh at this photo above because now he has no hair!! He shaves it off like Mr. Clean HAHA (And the funky red on his ear.. just plain weird!! must be something from the color shifting in the photo on an older 2004 camera..)
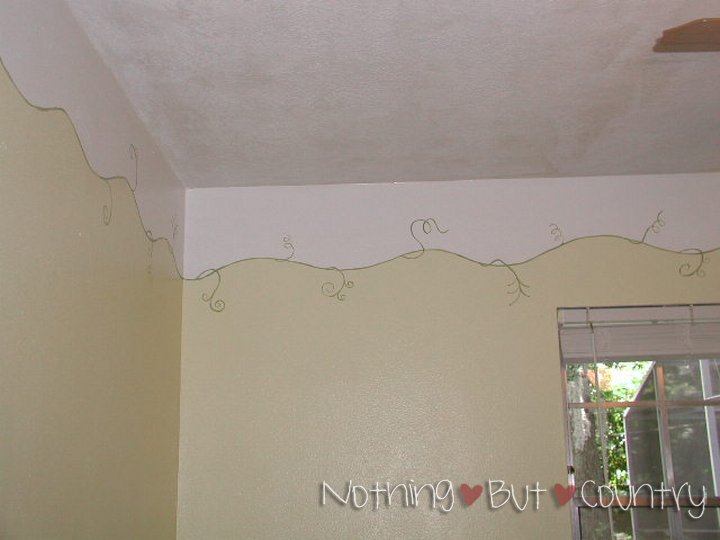
We then used Plaid Acrylics- color Italian Sage. And a thin brush and painted a vine where the white/yellow touched and added curlique’s on the vine. Random. All the way around the room. The easiest way to paint this, is to put a huge blob of sage paint on a Styrofoam plate, and just hold that as you paint on the vine. Light weight and makes it easier then dipping into a container or buying a fancy palette.
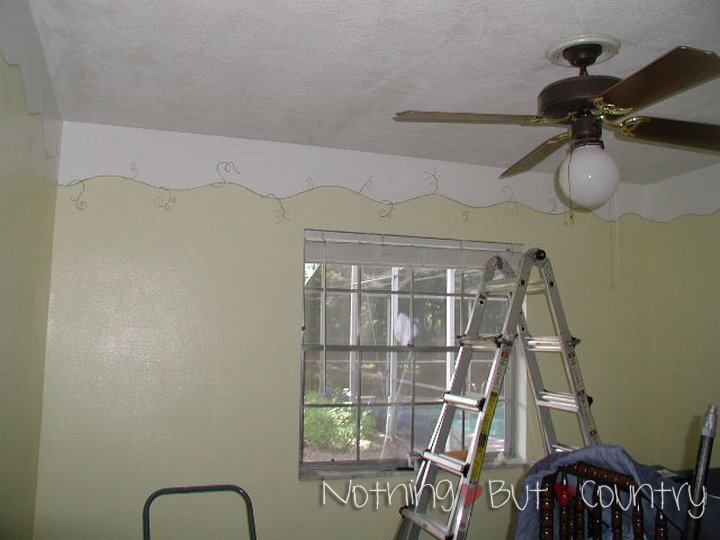
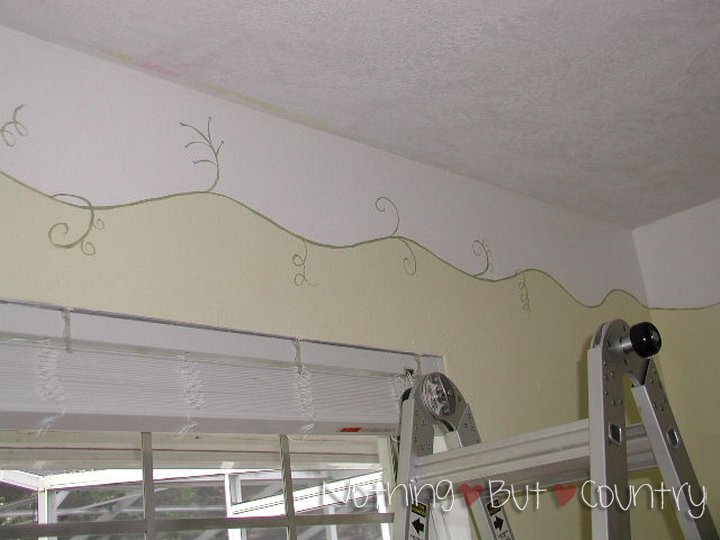
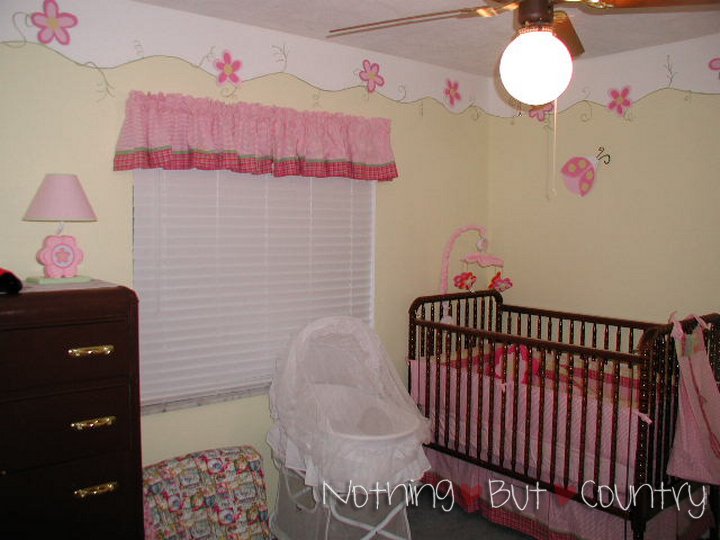
Here is the nursery all done. We added in the furniture- we went with the theme by Lambs & Ivory – Rainbow. The mobile had flowers in the theme, as well was the pillow. It got me to thinking, that maybe we need more flowers in the nursery….
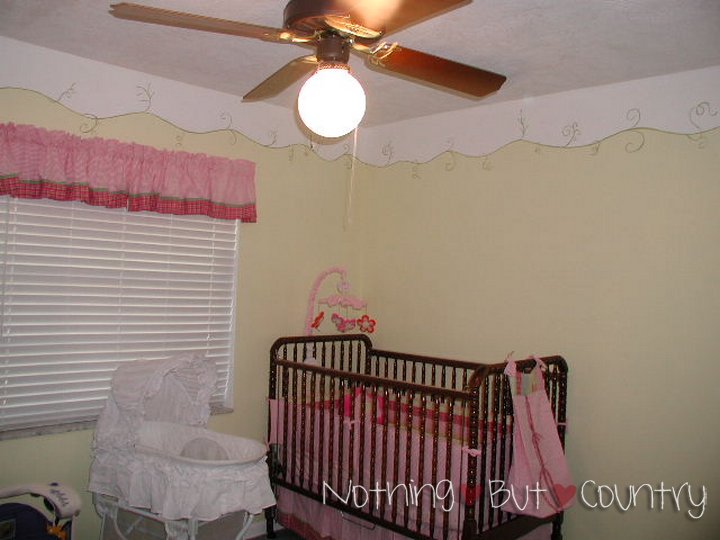
Love the pink and green’s from the theme. There is even a touch of yellow from the bumper pad and oranges. This room made me feel so happy!!
Another view of the room with flowers included. Now I knew this room/vine needed a personal touch…
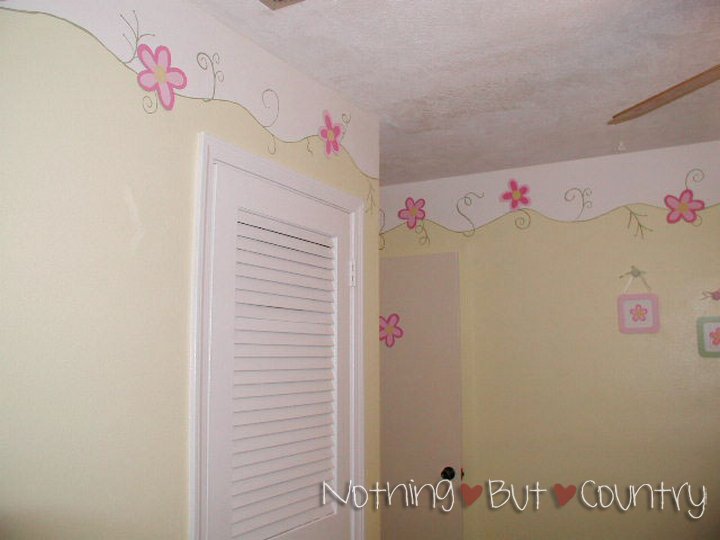
MUCH BETTER!!! I really like how the flowers added to the room.
I also wish I took better photos of HOW I made them. I hope I can describe it here as best as I can. They were EXTREMELY EASY!!
The nursery DONE…
I went to Home Depot and purchased some vinyl flooring It did not matter what it looked like. The type of flooring that you have to put glue down and lay the vinyl down. Do not get the flooring that already has glue or sticky on it. This is the cheaper stuff, with paper backing.
I drew out my flower with 5 petals like the theme. Cut out a piece of cardboard and allowed that to be my template. I then proceeded to trace all the flowers I wanted on the back paper side of the vinyl flooring. Once I had them all drawn out. I simply used an exacto knife and cut them out. With a sharp blade it was pretty effortless. It cut out easily. I then primed the vinyl on the paper side. Once dried, I picked 3 colors. Light pink/Dark Pink and Yellow by Plaid- their acrylic bottles. I believe you can find those at Wal-Mart or Michaels. I painted my flowers. If you look closely to my photos. Some of the flowers are reversed colors in the petals. Once I had all the flowers completed. I used heavy duty foam permanent scrap booking stickers. So they were a bit raised off the wall. Giving it a bit of 3D look to it. And I randomly placed the flowers around the room on the vine.
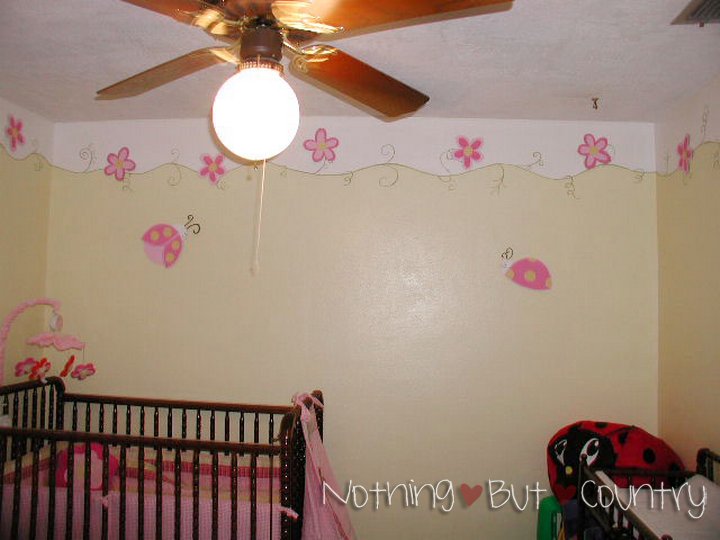
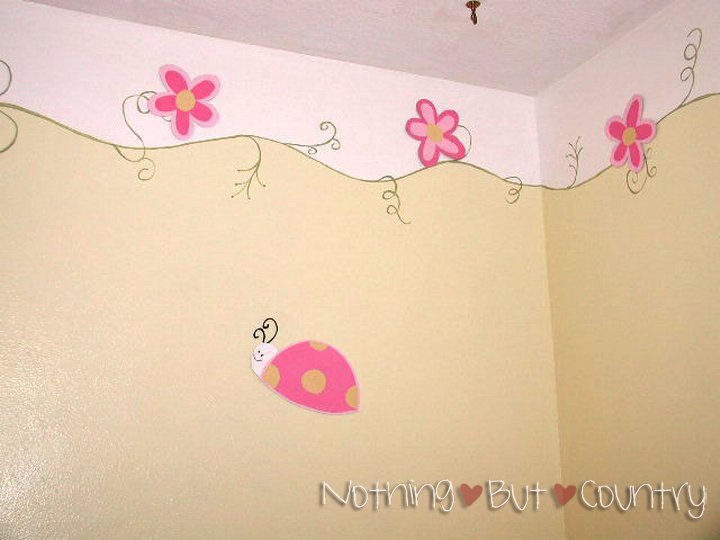
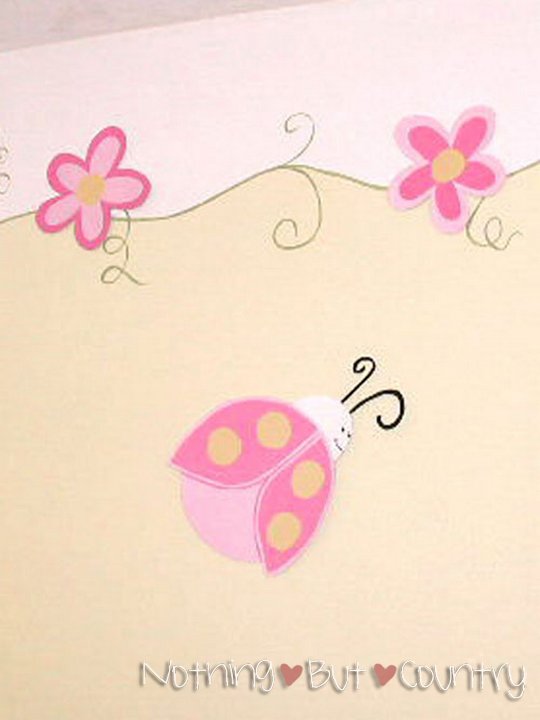
The very last personal touch to the room- were the ladybugs. They had nothing to do with the theme other than I am a HUGE ladybug fan. And I wanted to incorporate a little bit of MOMMY in the nursery. So I created 2 ladybugs, the same way I did with the flowers, on the back of the vinyl. Freehand drew the ladybugs, cut it out with exacto knife and painted it, and adhered it to the wall.
I am happy to report the flowers stayed on the wall except for 1 or 2 that fell after about 5 years till the day we removed the flowers/ladybugs. I was sad to see them go.
However now that she is older- the vines and the colors in the room is PERFECT for a little girl that enjoys pinks and greens now. I will post tomorrow new updates to the room for a little girl that is now 6. 🙂 And some fun organizing ideas as well. 🙂
























Funny! Did the ladybugs and butterflies at Aly’s birthday reminded you of the nursery room? 🙂
Look at that tiny little crib for your tiny little angel! You guys are so talented. You should totally charge people and make this kind of thing a business. WAY professional.
I found the vinyl idea amazing- great project!